
How to use the nail polish wraps?
Lotusby nail wraps are quick, easy, and affordable! Get beautiful, quality manicures in the comfort of your own home with our DIY nail wrap sets. Our nail wraps are self-adhesive (no heat required) and have zero “dry time” (unlike traditional nail polish). Bonus: They last up to 10-12 days – plenty of time to show off your unique style.
HOW TO USE
1. Be sure to clean your nails before application.
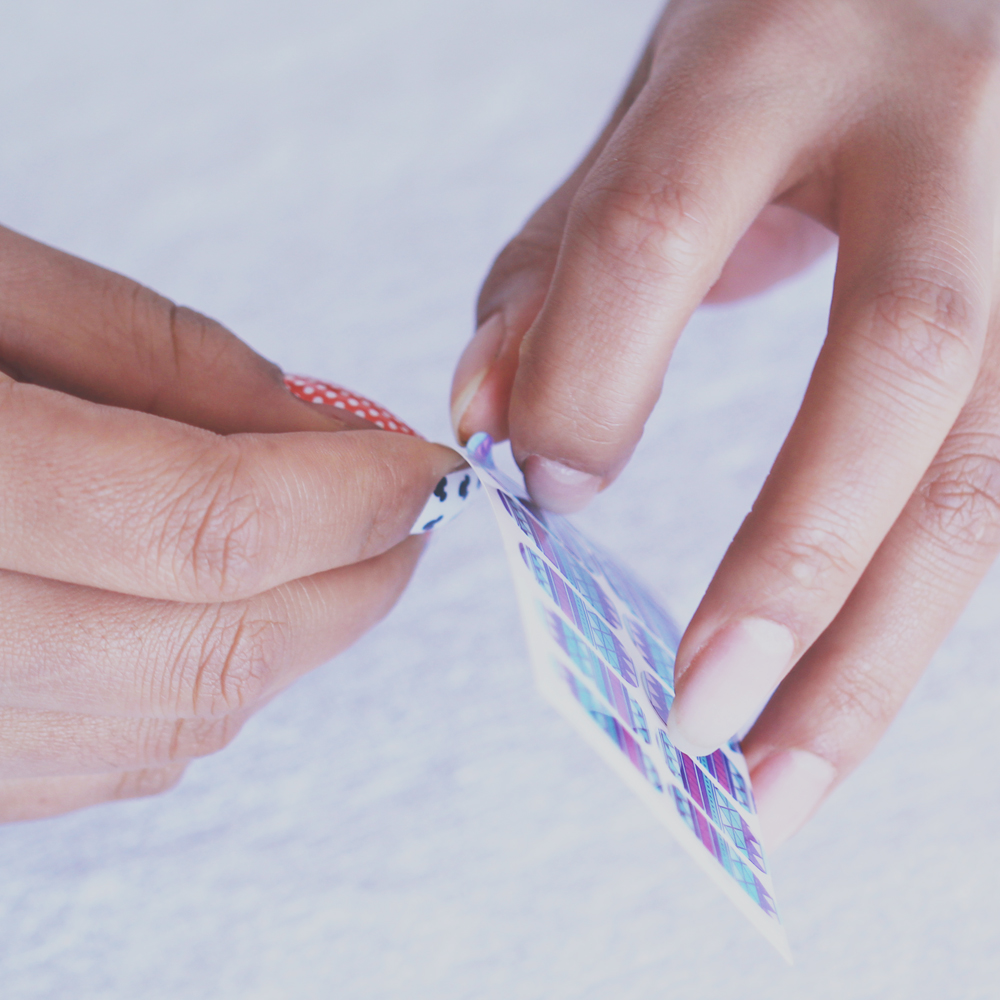
2. Select the suitable size, make the nail polish strip one size smaller than your nail width, and remove the top transparent film and white paper based.
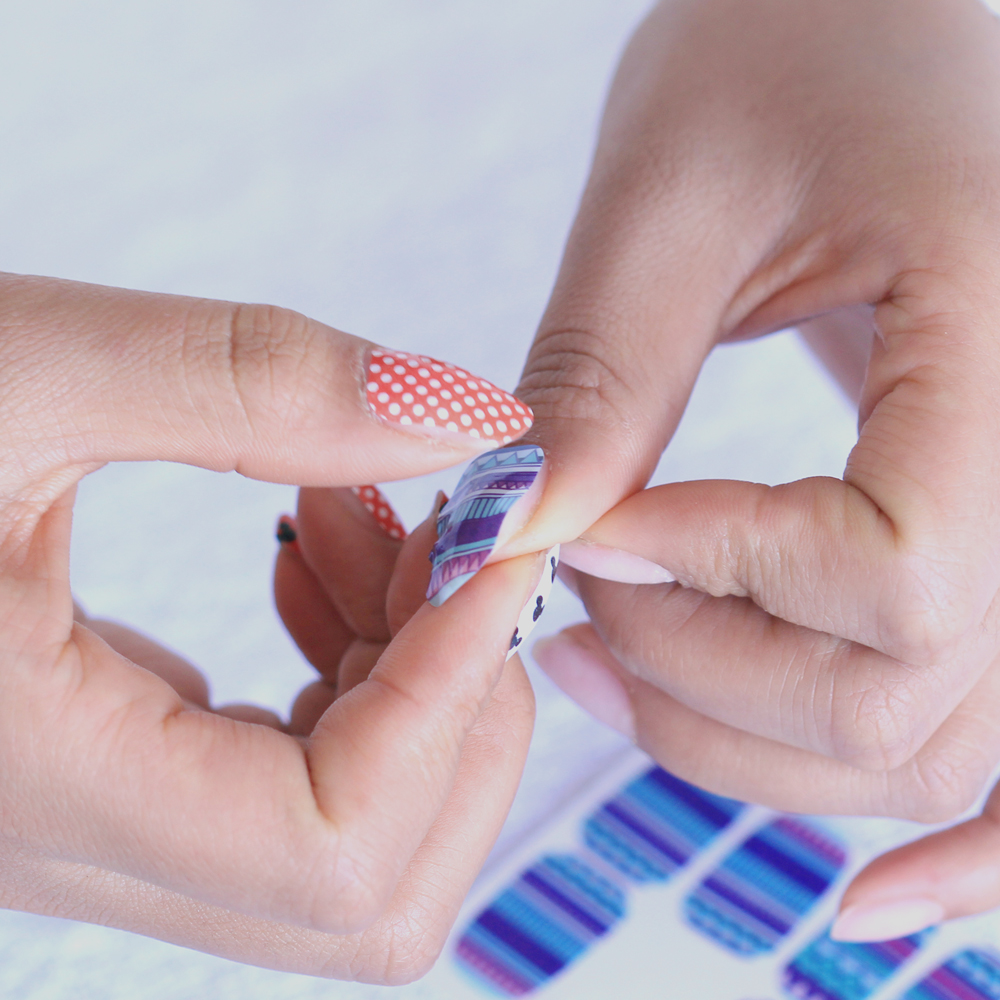
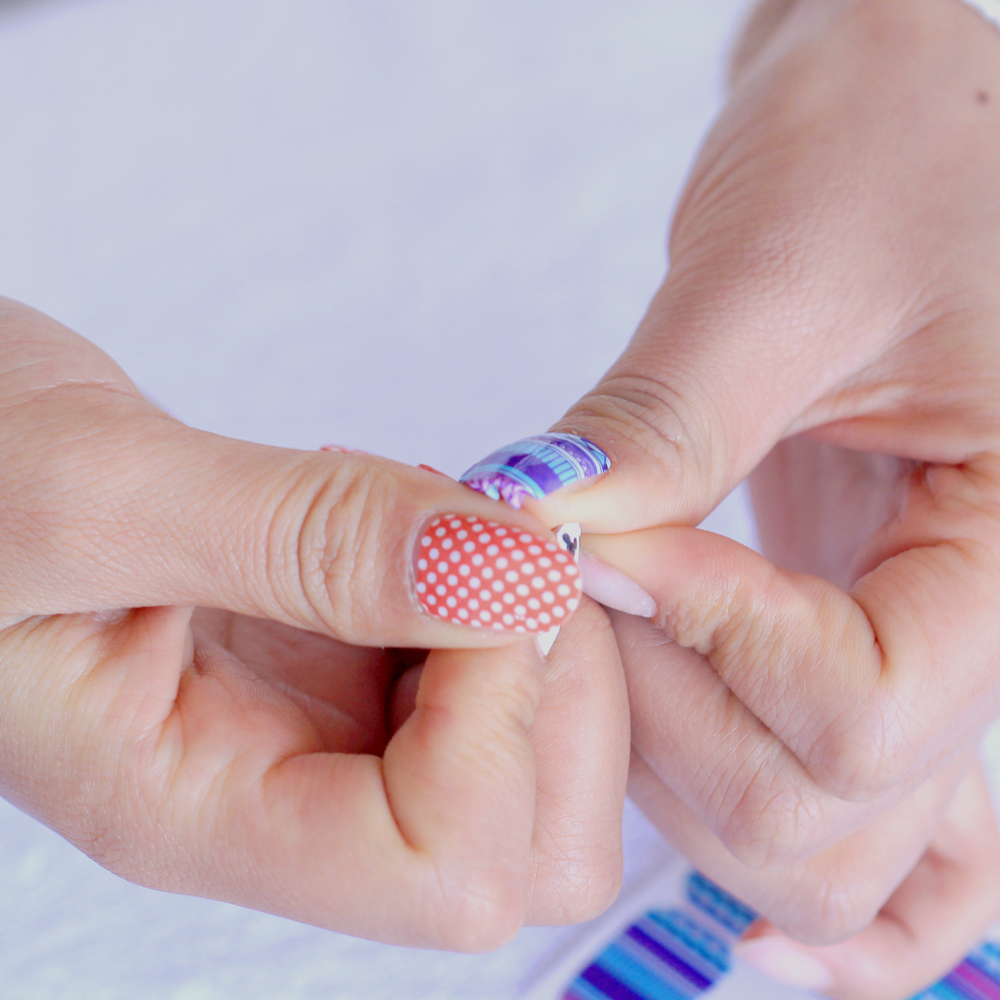
3. Select and position the nail strips against the cuticle and stretch gently to fit and firmly smooth.
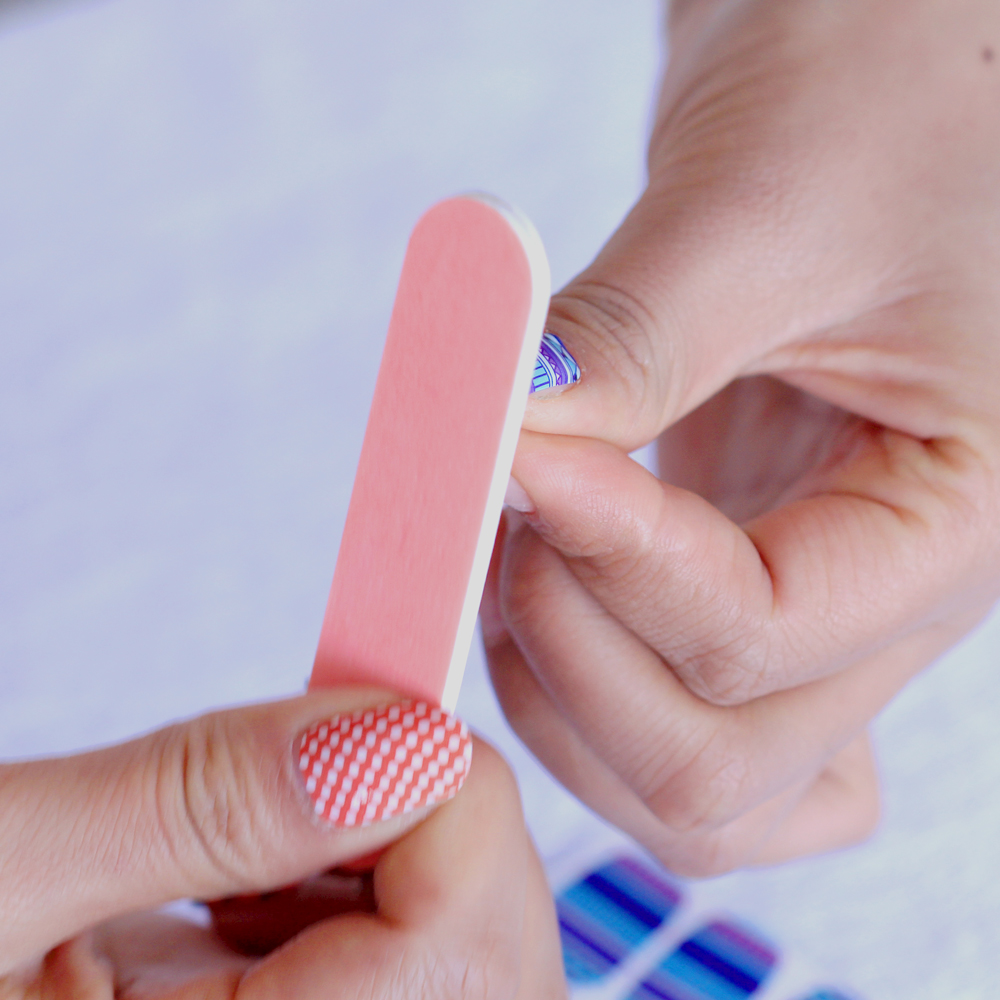
4. Crease at nail tip & file excess in a downward motion. Finish & Enjoy.
REMOVE
Put fingers in warm water for 2-3 minutes then gently tear off along the edge of the nail.
ABOUT THIS ITEM
• TOP QUALITY-The nail wrap is made of durable, Non-toxic and environmental-friendly real polish.
• INCLUDES-18 strips Nail Art Wraps
• EXTRA ADHESION-We have tested many times and carefully chose the high material decorate your nail. The waterproof nail wrap sticker can last up to 14 days!
• EASY TO INSTALL- Simple to use it. please follow the illustration on this page to get the best experience. Suitable for home DIY nail art, artist, wedding, party, shopping, travelling, professional manicure and so on.
• IT FREELY-Beautiful nail wrap strips can be use any nails, such as hand, toes, even on false nails. 18 strips provided so you can use each package for 2 manicures.
⦁ CRUELTY FREE-No animals were tested in the making of these wraps
Material: Nail polish base wraps
Application : File nails and push back cuticles in advance for better results.
⦁ Step 1: Clean the surface of nails with an alcohol pad. *DO NOT TOUCH THE SURFACE OF NAILS ANYMORE AFTER CLEAN IT!
⦁ Step 2: Select suitable size, peel off the clear film and stick the nail polish wrap on the nail. *Notice: DO NOT TOUCH THE BACK SIDE OF NAIL POLISH PATCH TO AVOID THE OIL OF SKIN.
⦁ Step 3: Place the round edge on nail base, and press gently. *Notice: DO NOT APPLY ON CUTICLE AND SKINS.
⦁ Step 4: File down the excess gently in a downward motion.
⦁ Step 5: Press the nail surface repeatedly in order to force out the air, apply the nail polish wrap tightly.
⦁ Step 6: TO REMOVE, simply use nail polish remover to dissolve the nail art or soak your fingers in warm water for 2-3 minutes then gently tear off along the edge of the nail
⦁ Tips: Buff the nails before applying and apply a top coat for long lasting results.
What it includes :
18 strips Nail Art Wraps
Alcohol pad
Nail file